


Load carriers*
Introduction
The specifications, design data and illustrations in this publication are not binding. We reserve the right to make changes without prior notice.
Follow the load carrier installation instructions carefully.
Note
Key number
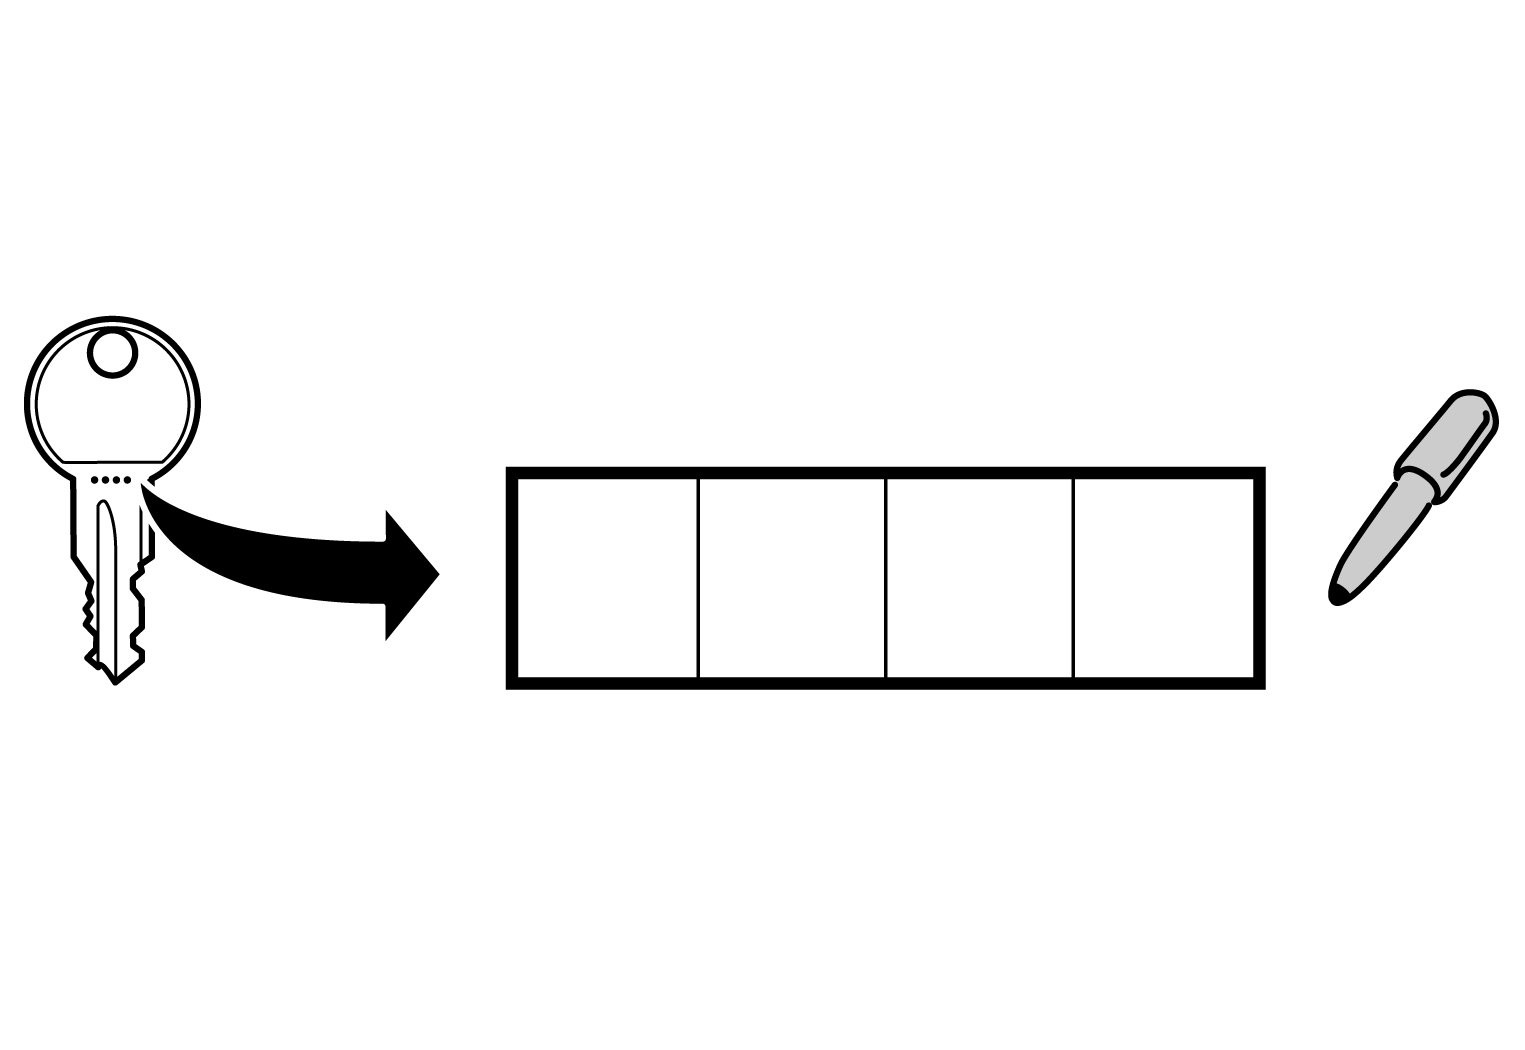
Please note down the number of your key in the box above. This will help if you lose your key and need to order a new one.
Installing the load carriers
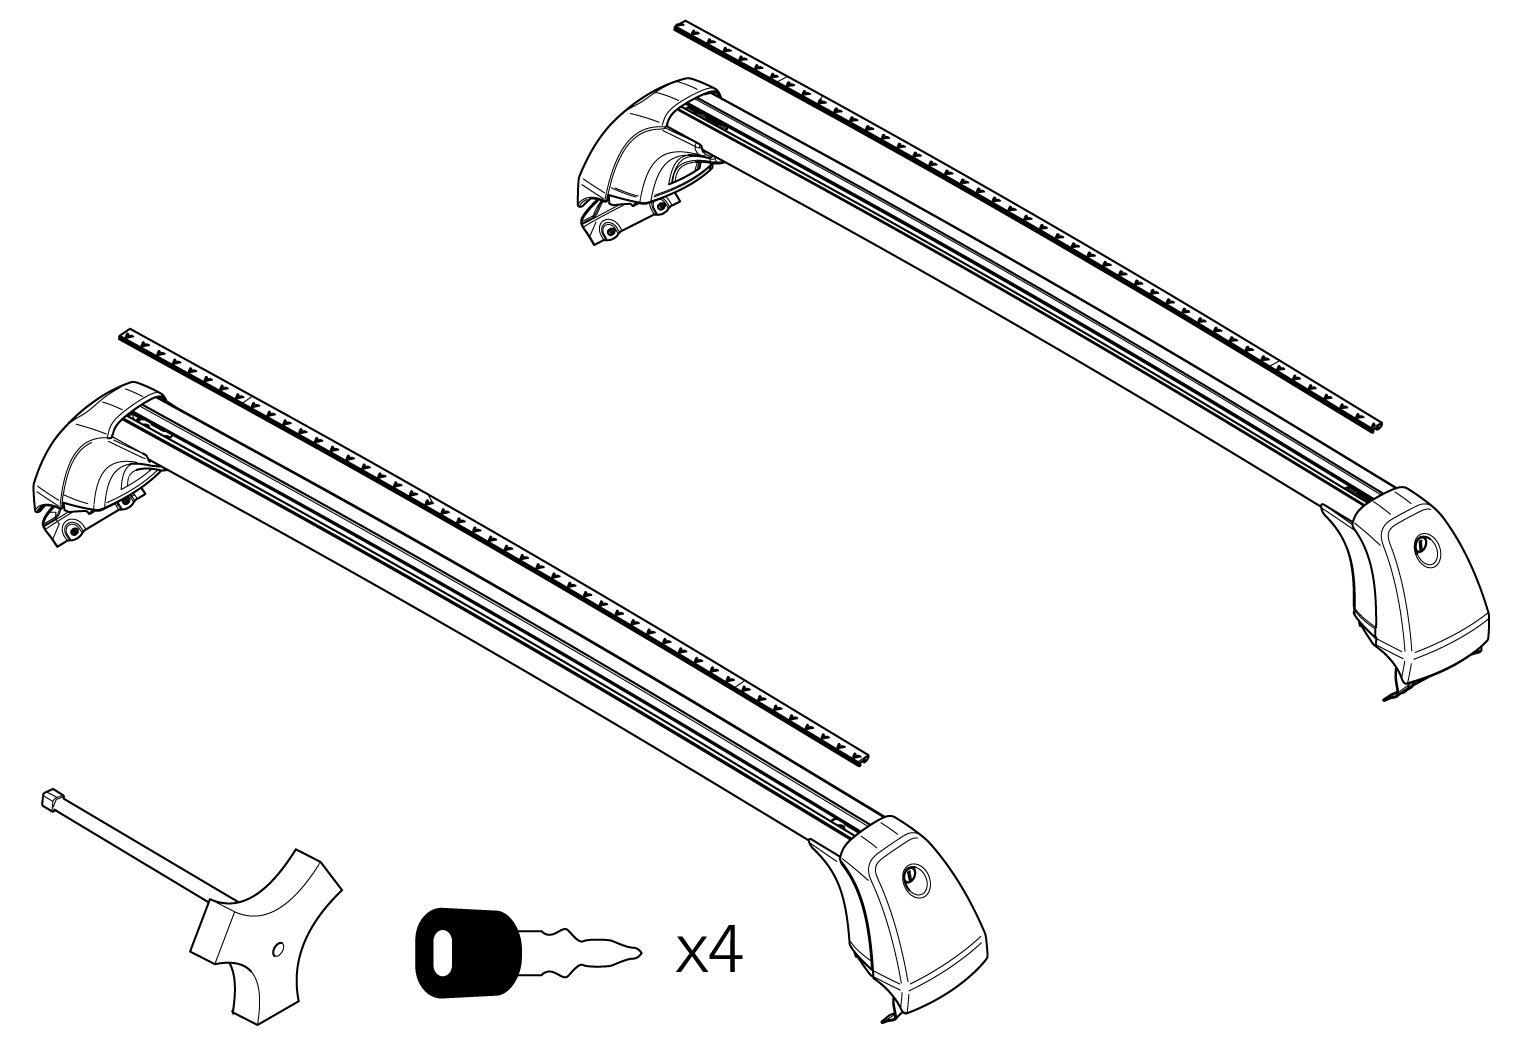
Kit contents
Preparations
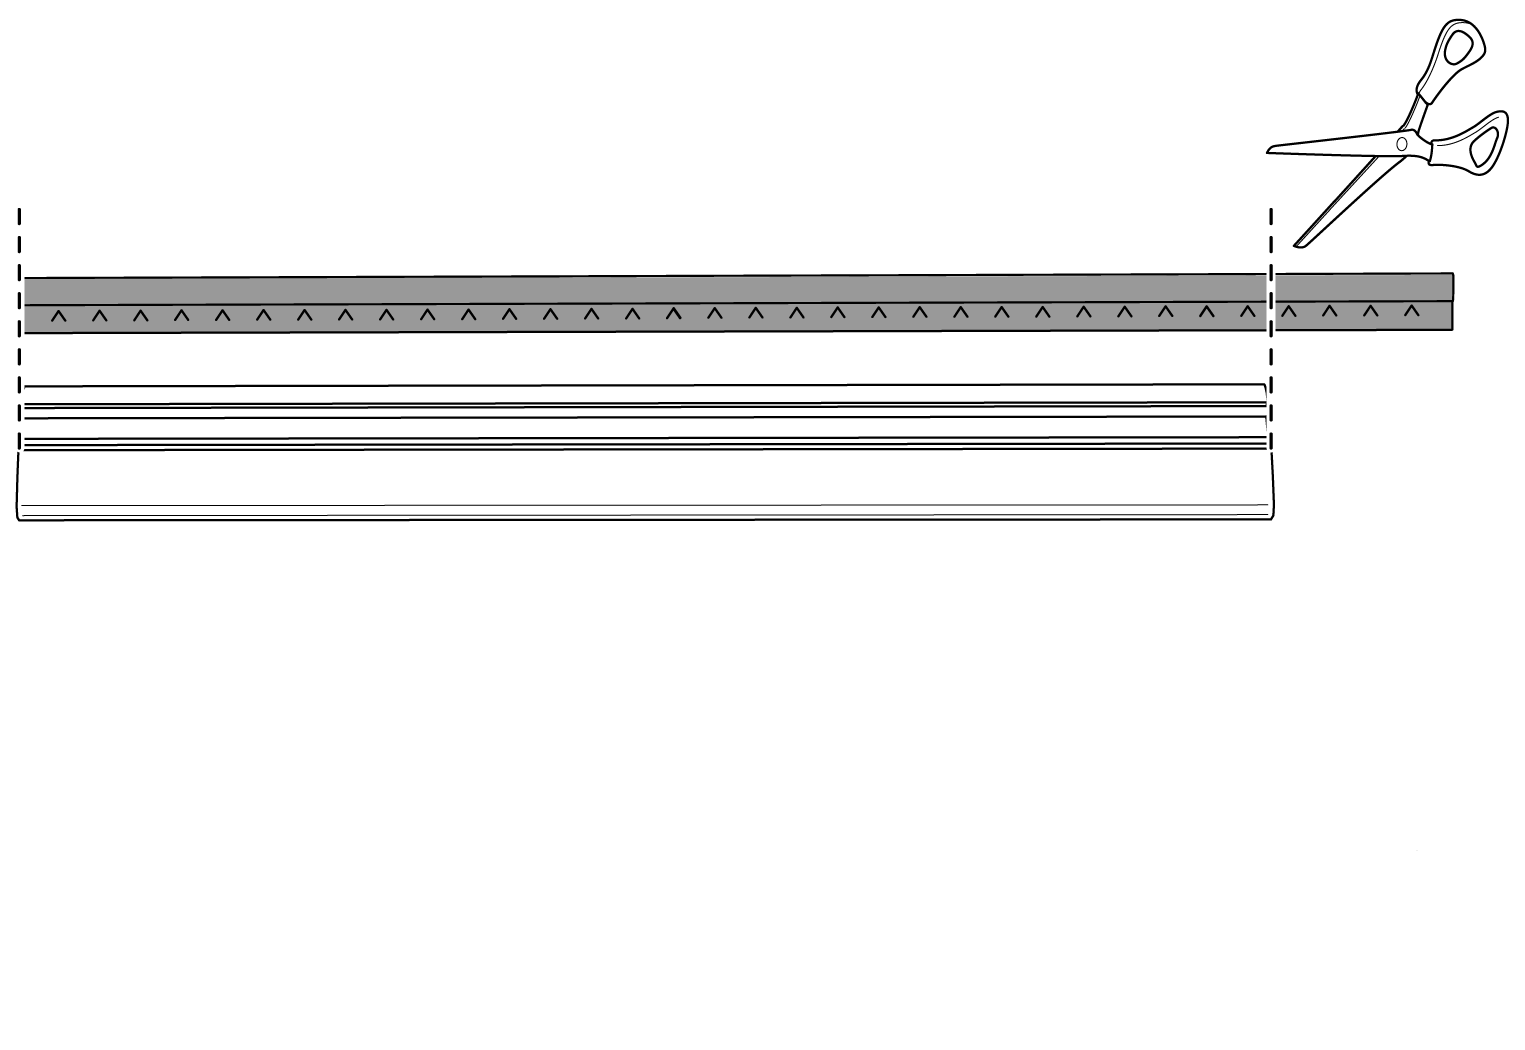
For the initial installation, the strip needs to be cut to the correct length.
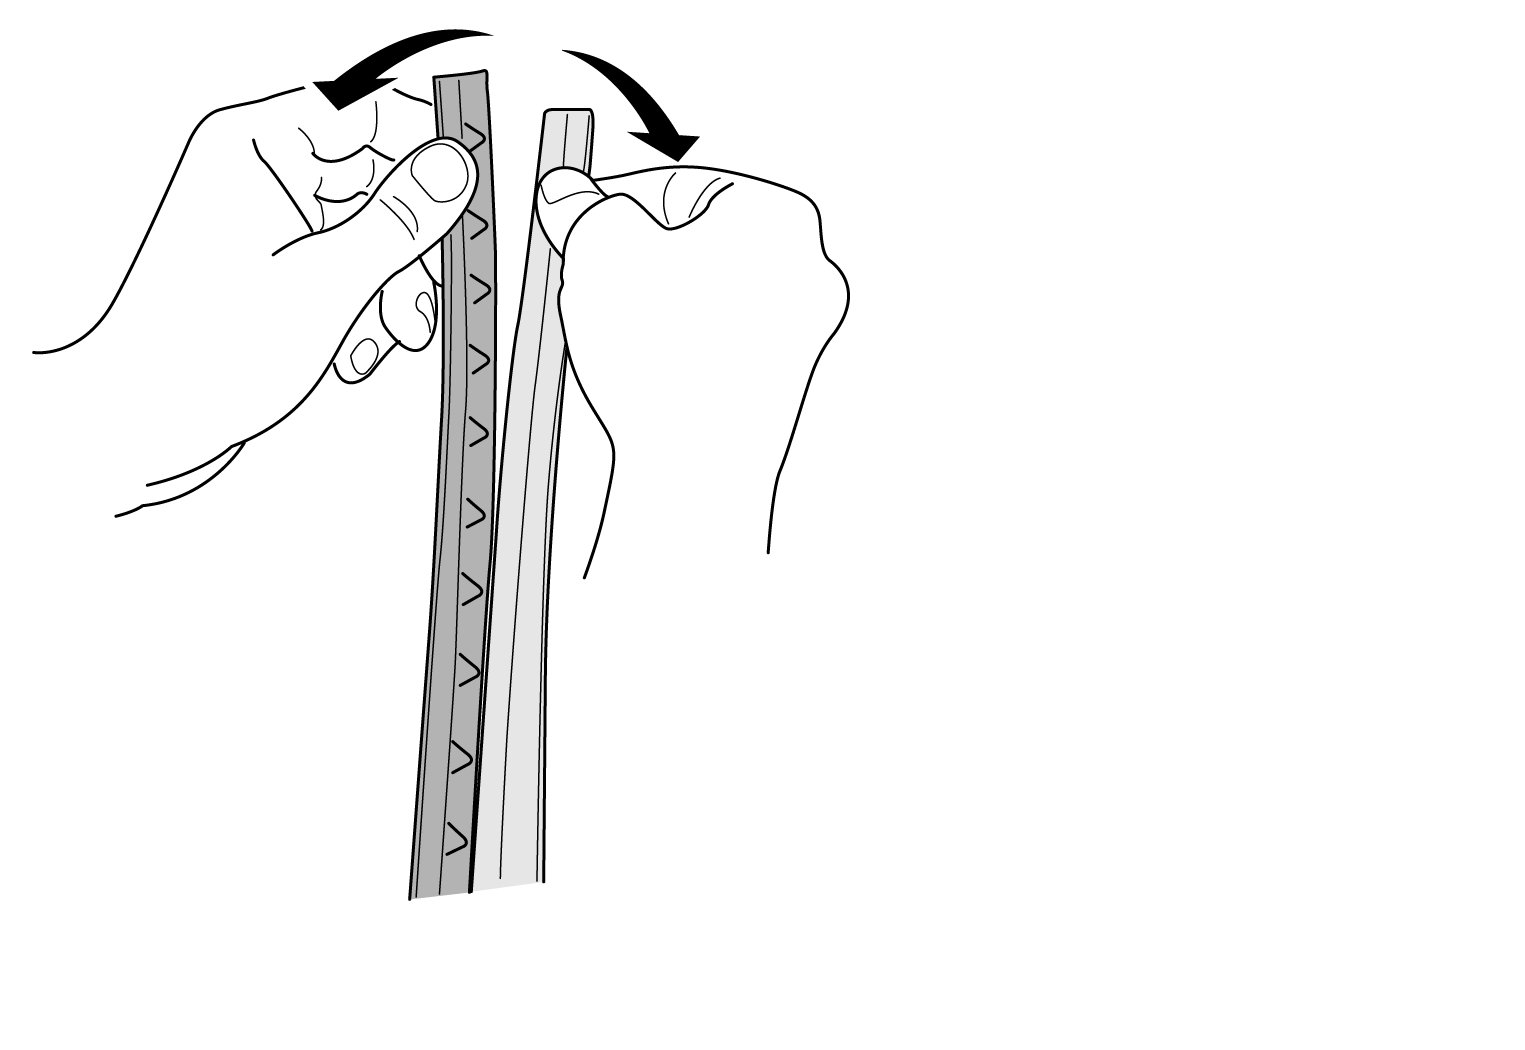
Then pull apart the T-track strip.
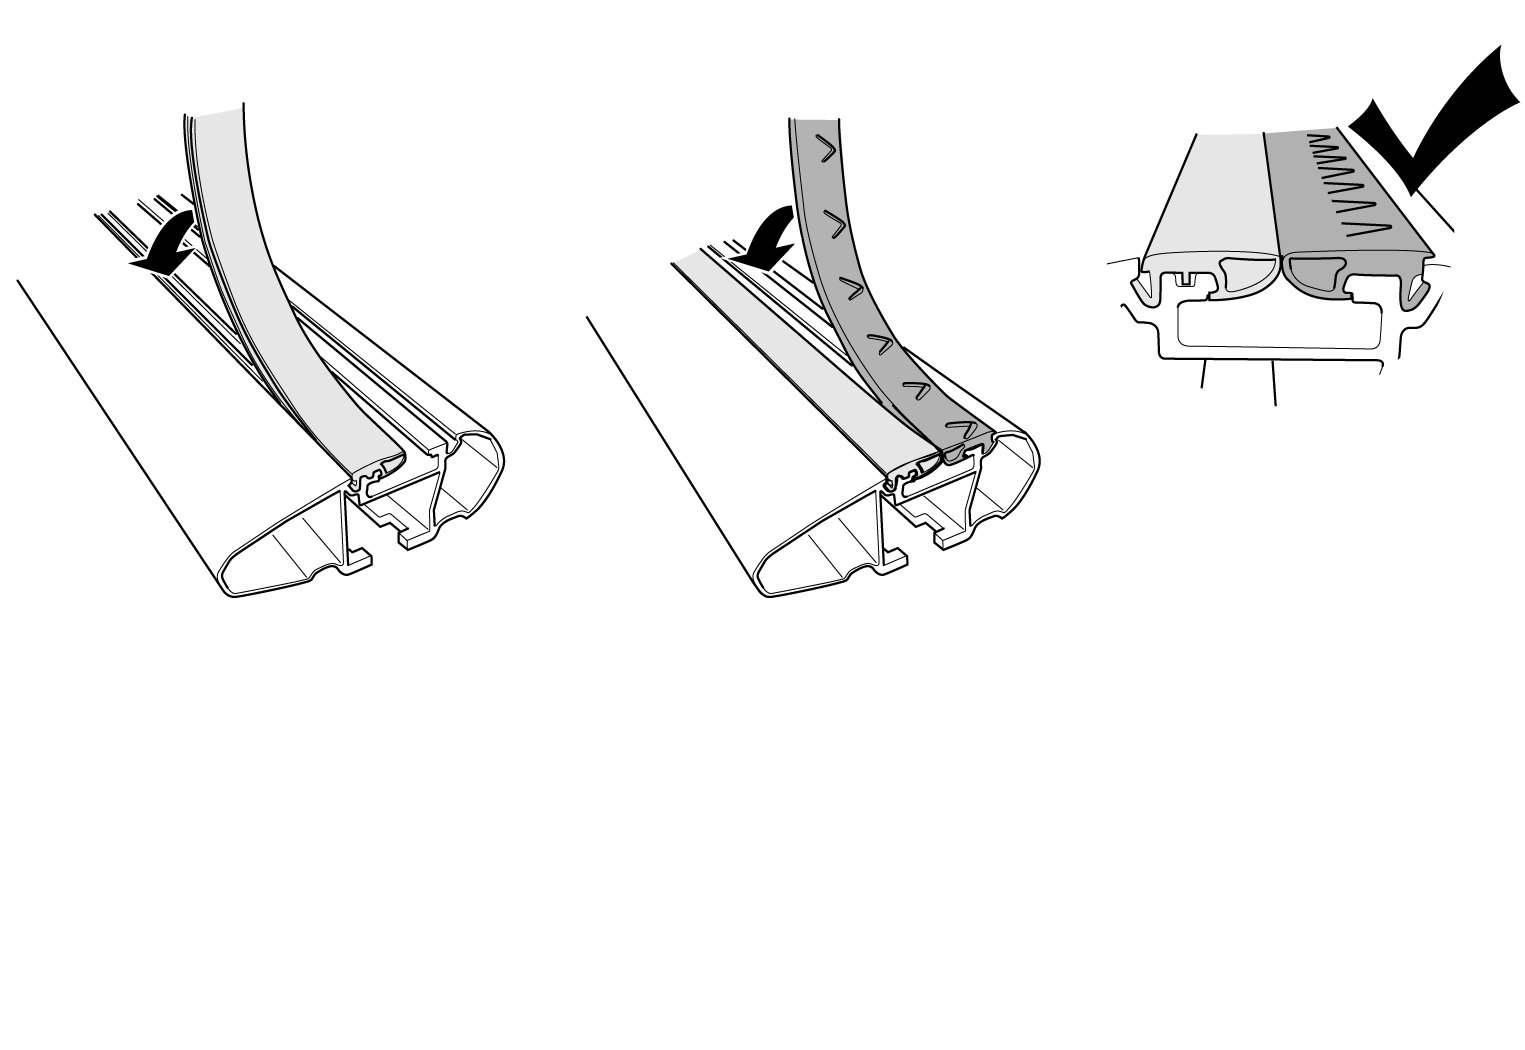
Lay the strip in the load carrier. The arrows on the strip show the direction of installation. The arrows should point toward the front of the vehicle.
Positioning the load carriers
Note
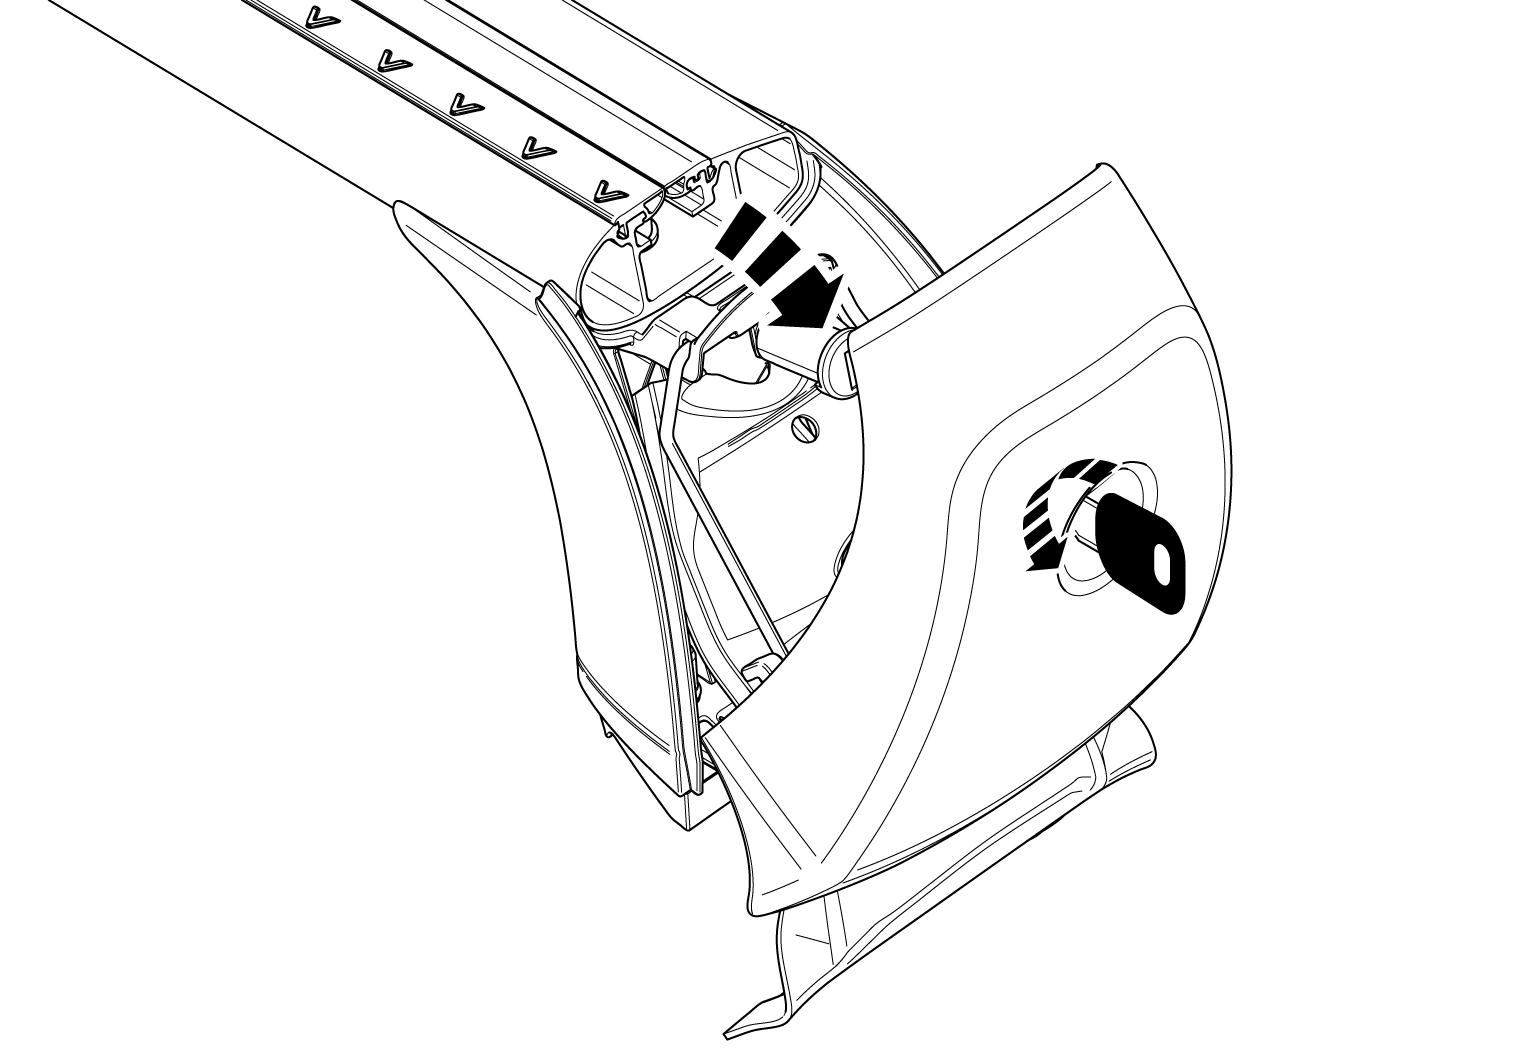
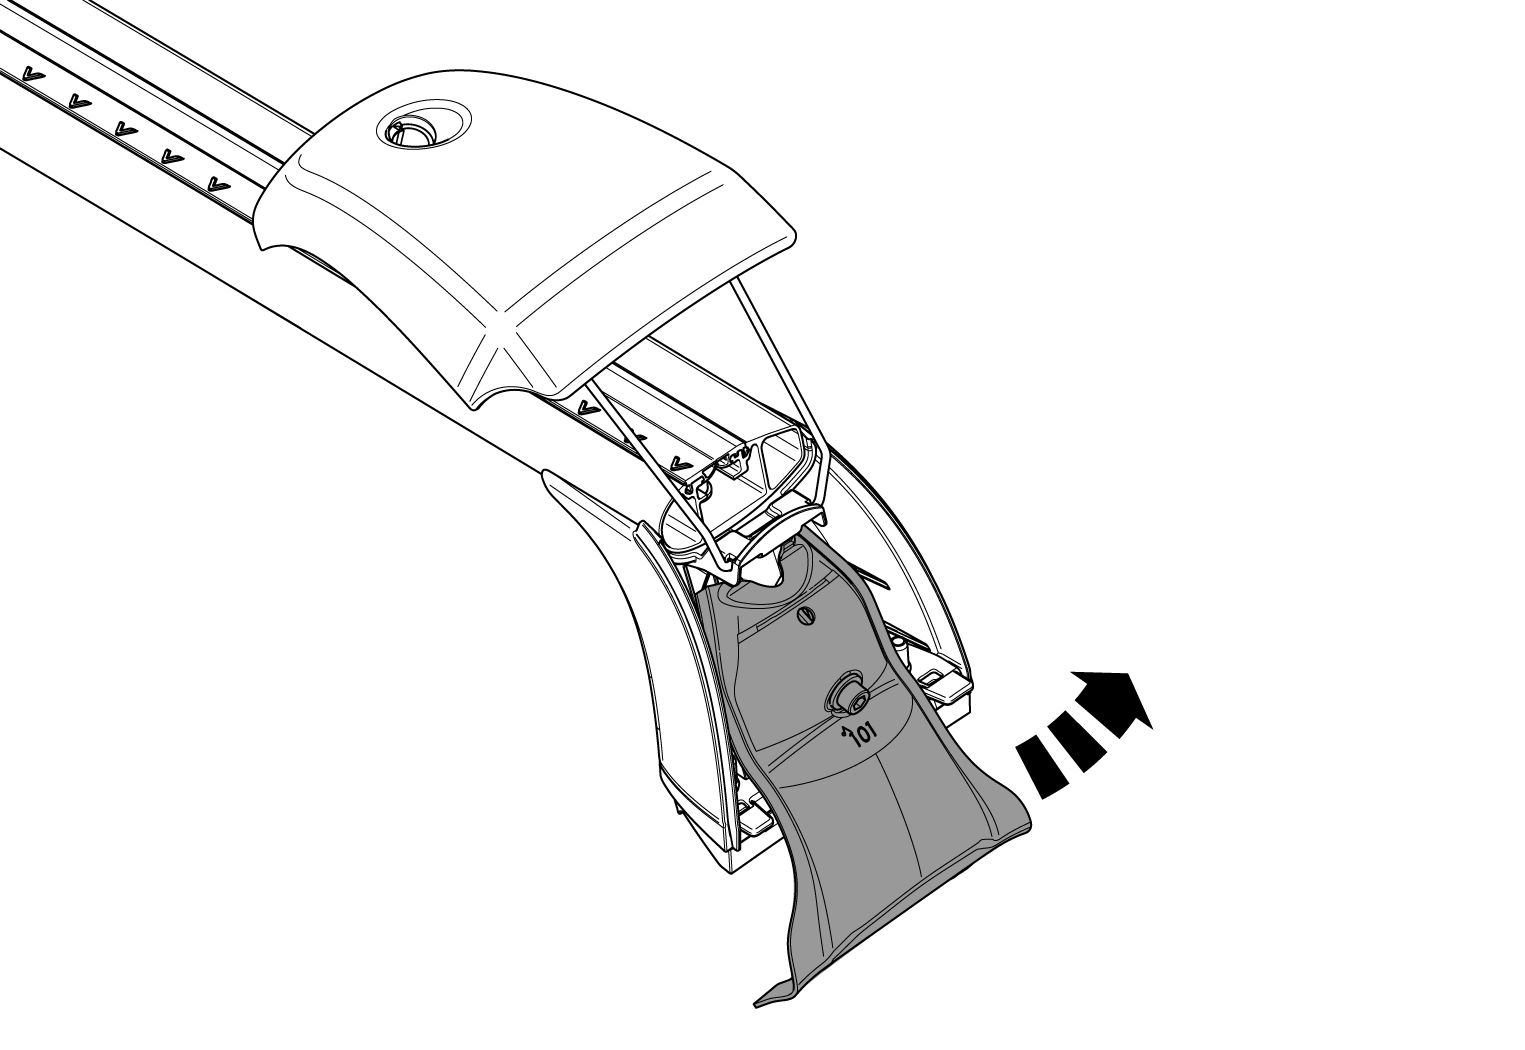
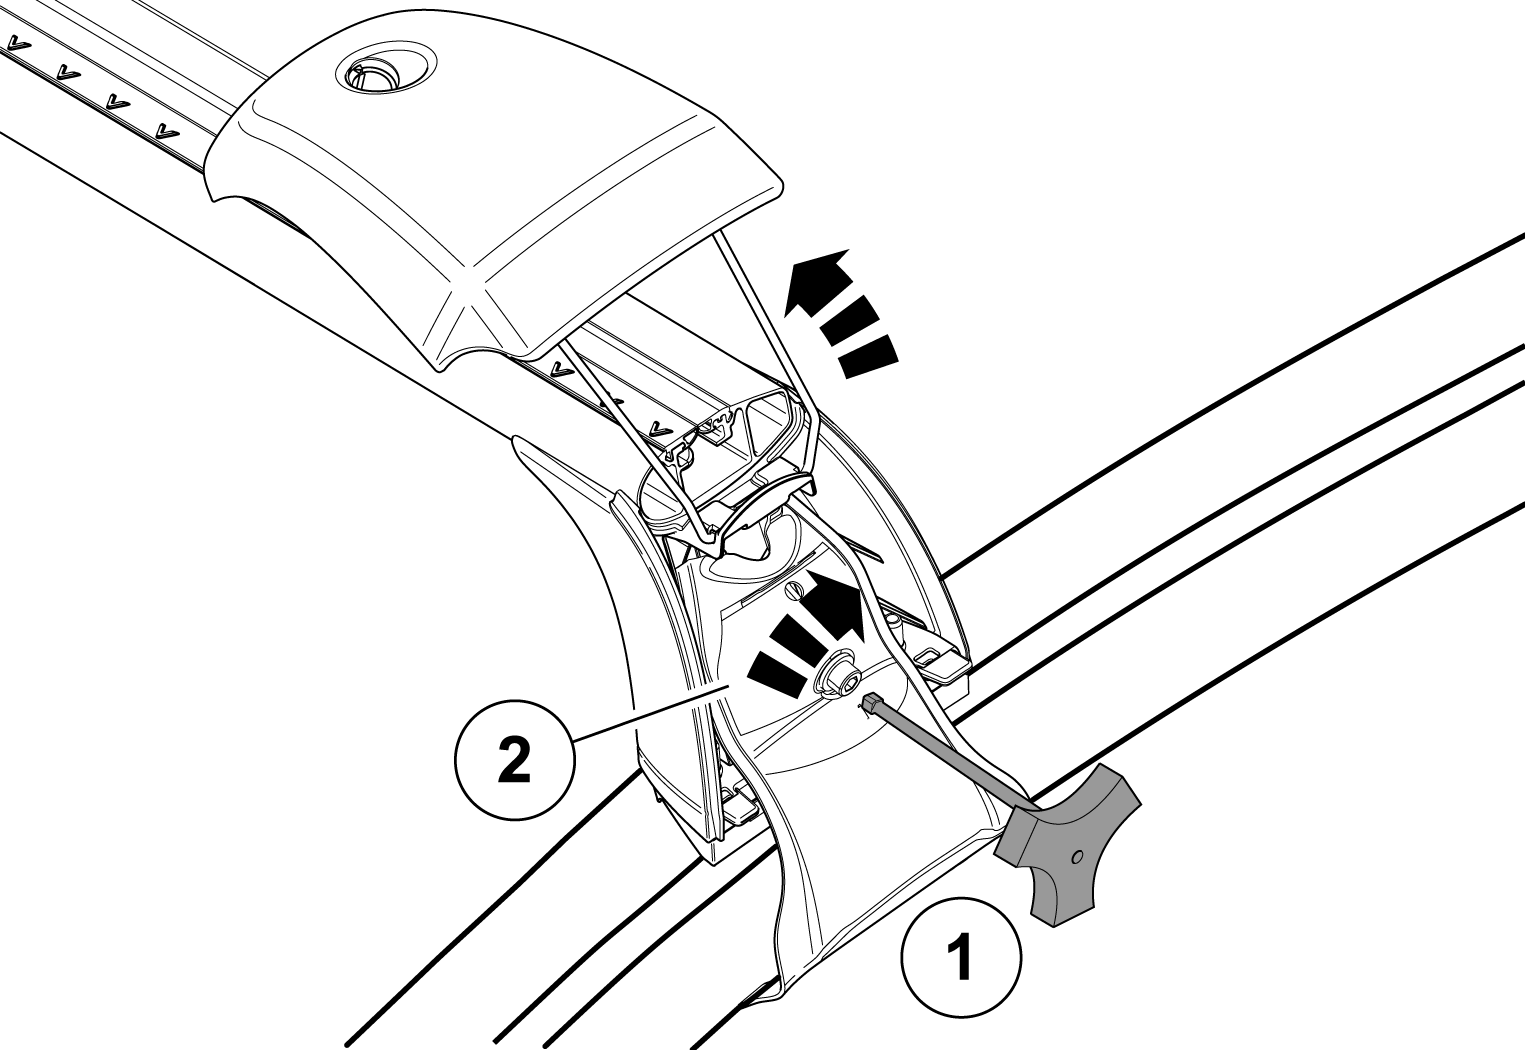
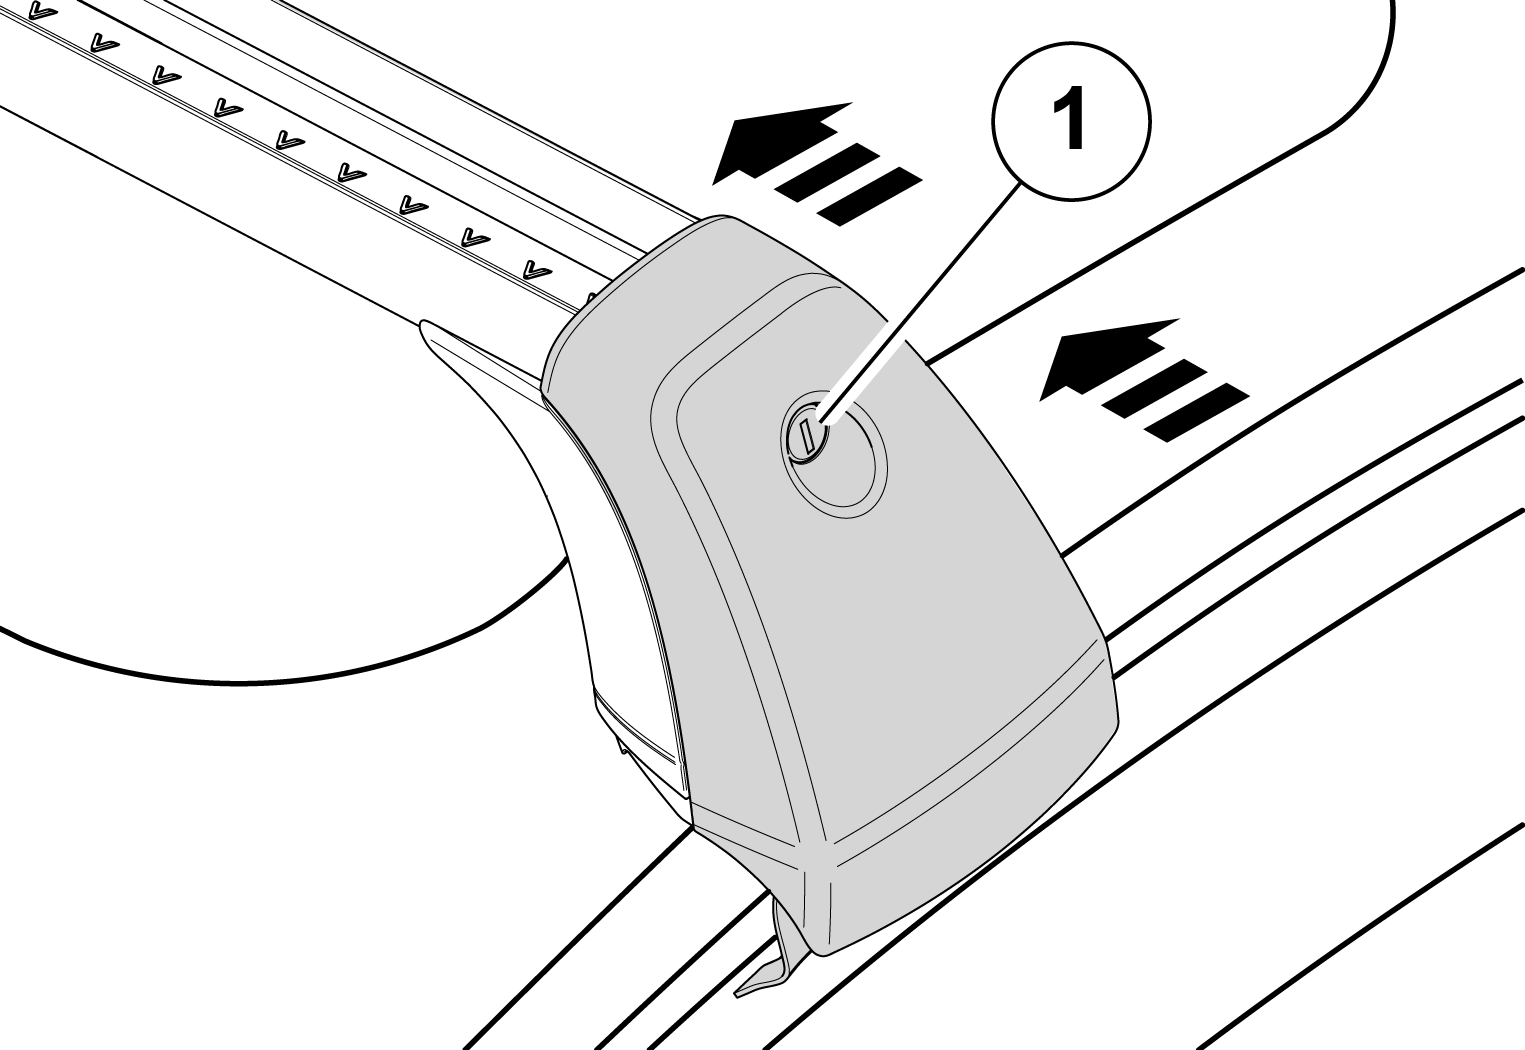
Loosen the load carrier covers by turning the lock key 90° counterclockwise and then carefully loosen the cover.

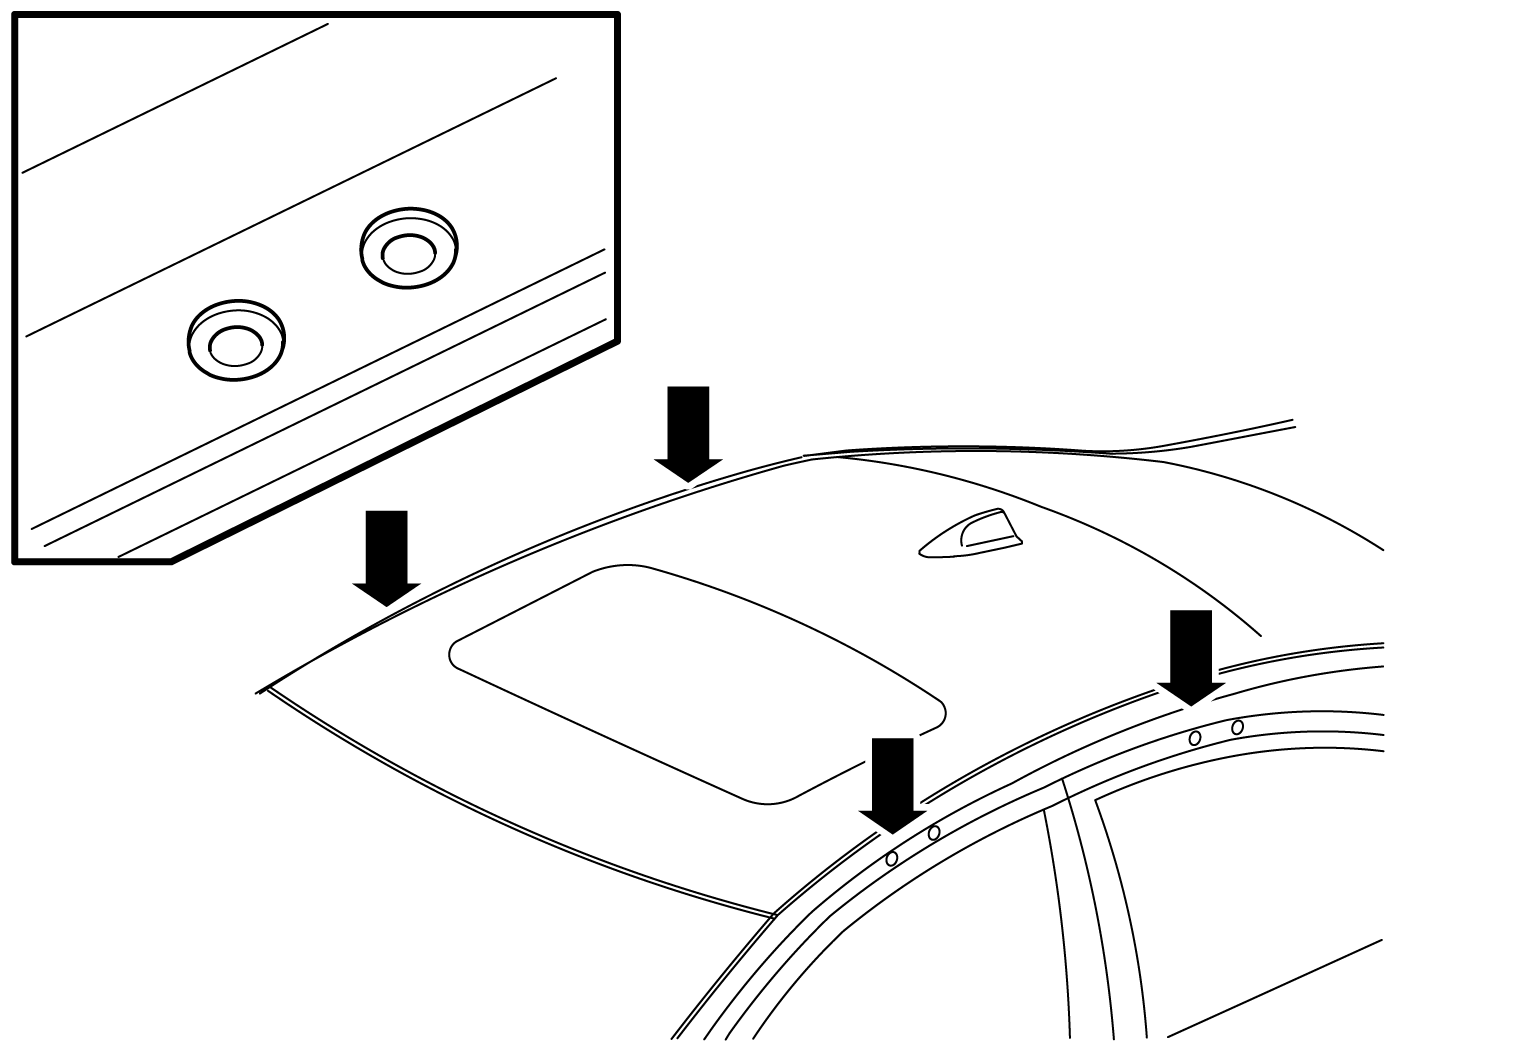
Refer to the decal under the load carrier for proper positioning of the load carriers on the roof.
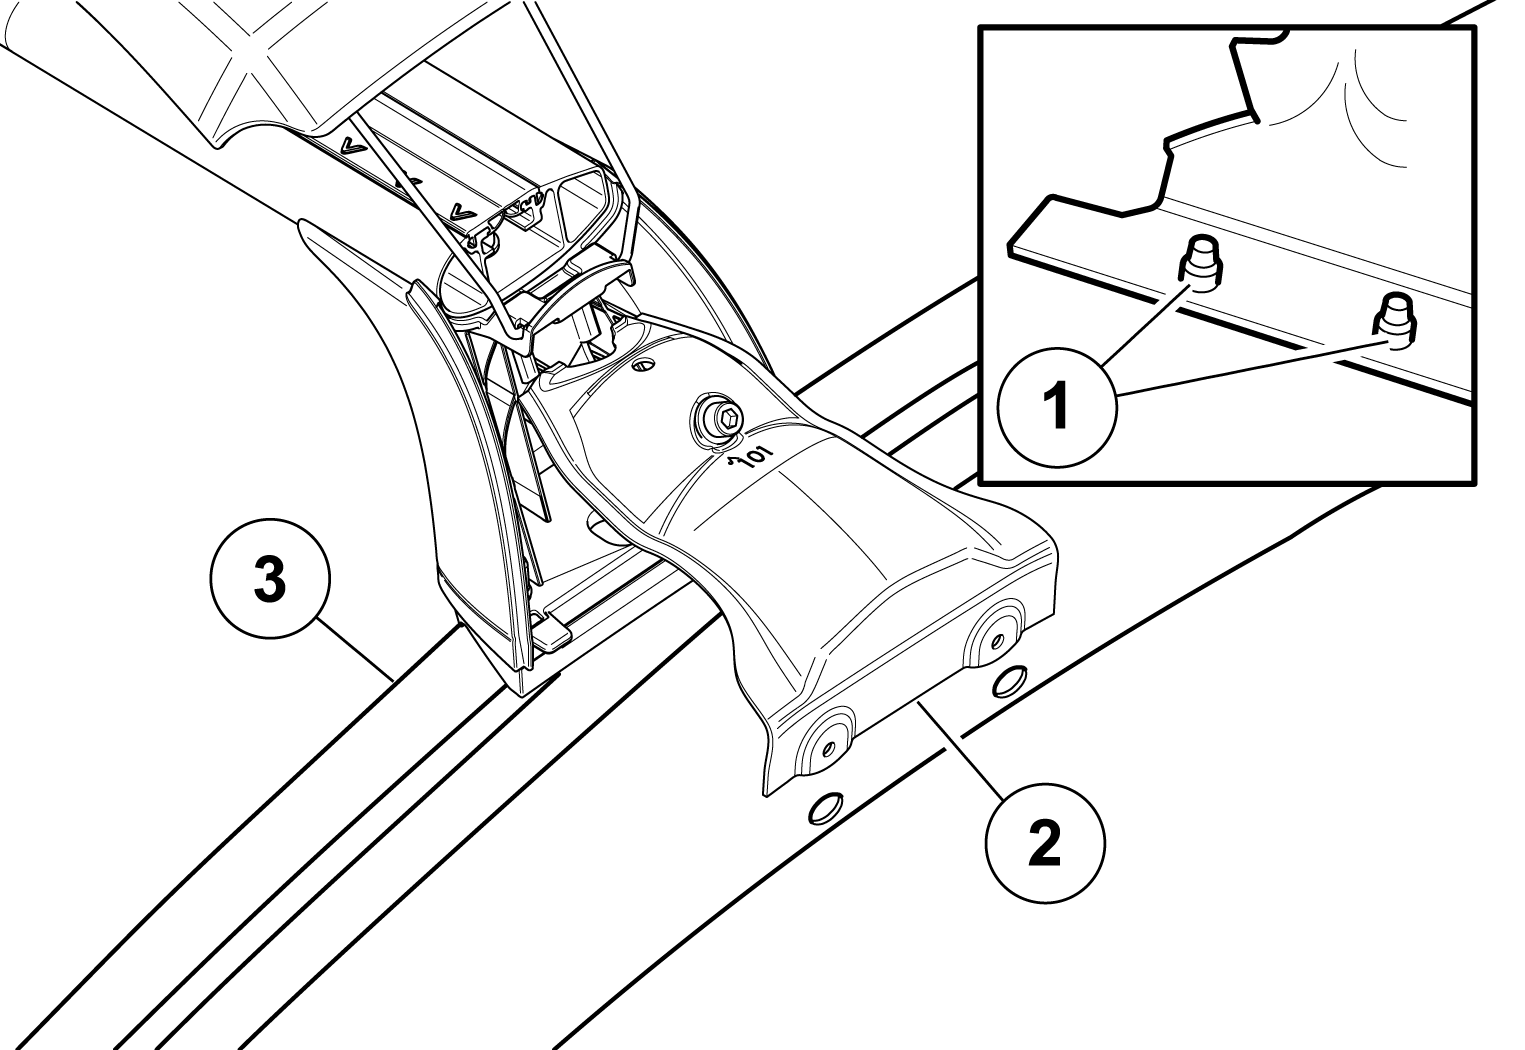
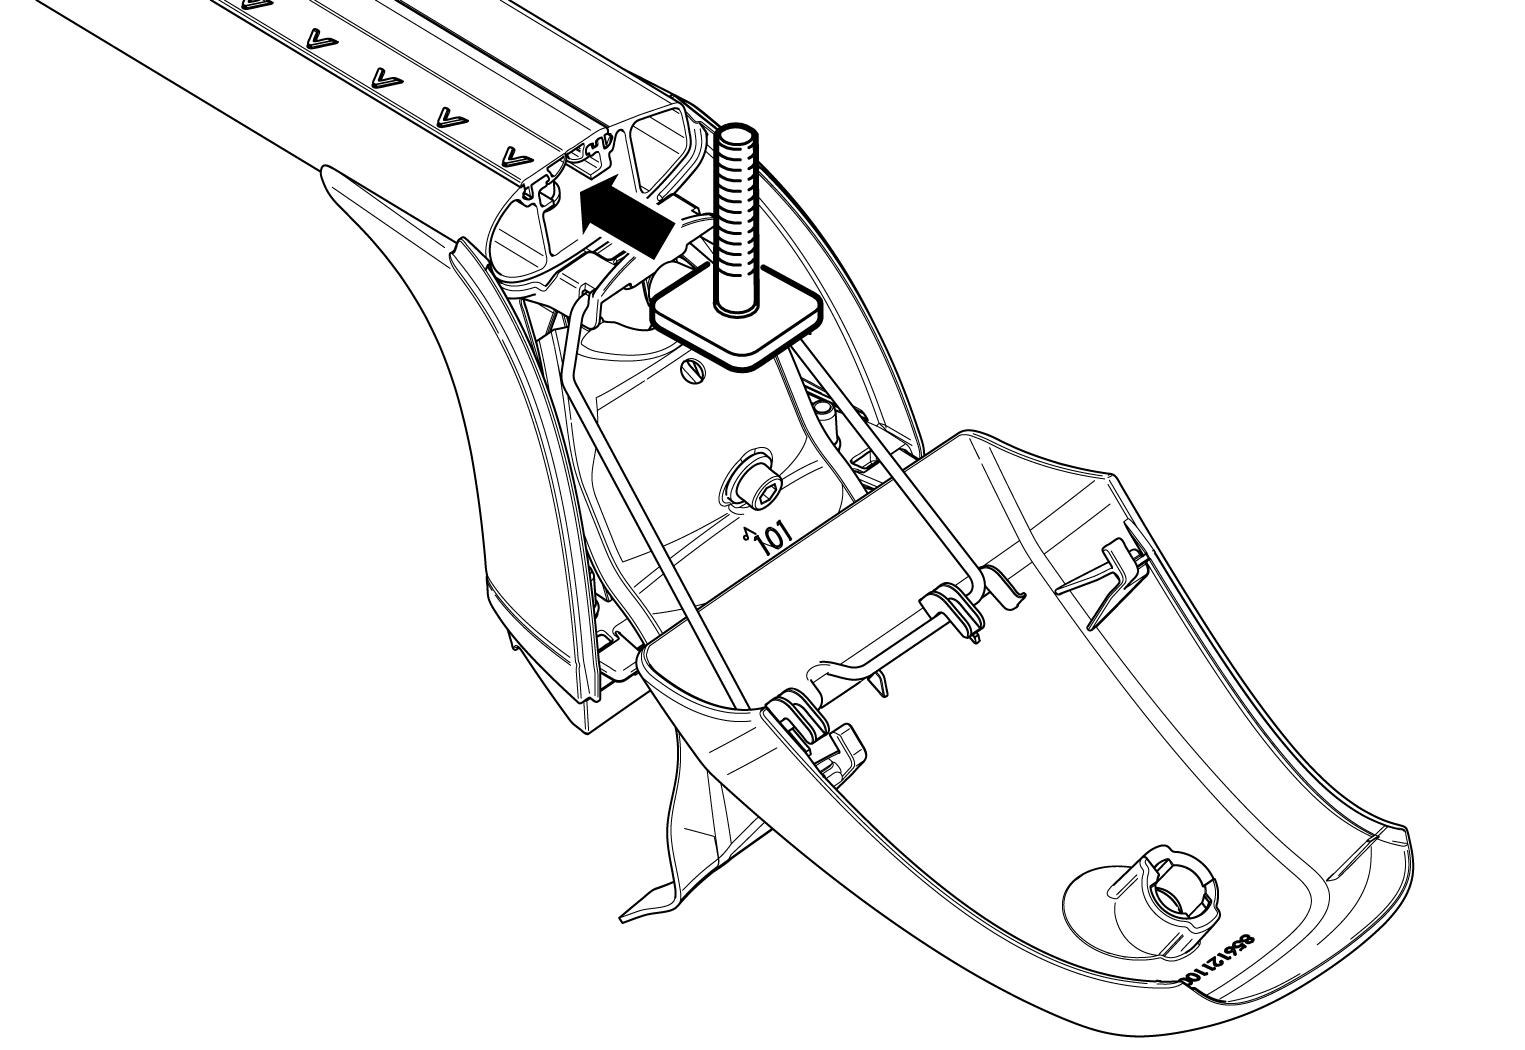
Place one of the load carrier's feet at the edge of the roof and line up the pins  on the mounting clip with the rivet nuts
  in the door frame.
 on the foot of the load carrier sits tightly against the corresponding curve on the top of the load carrier.
Note
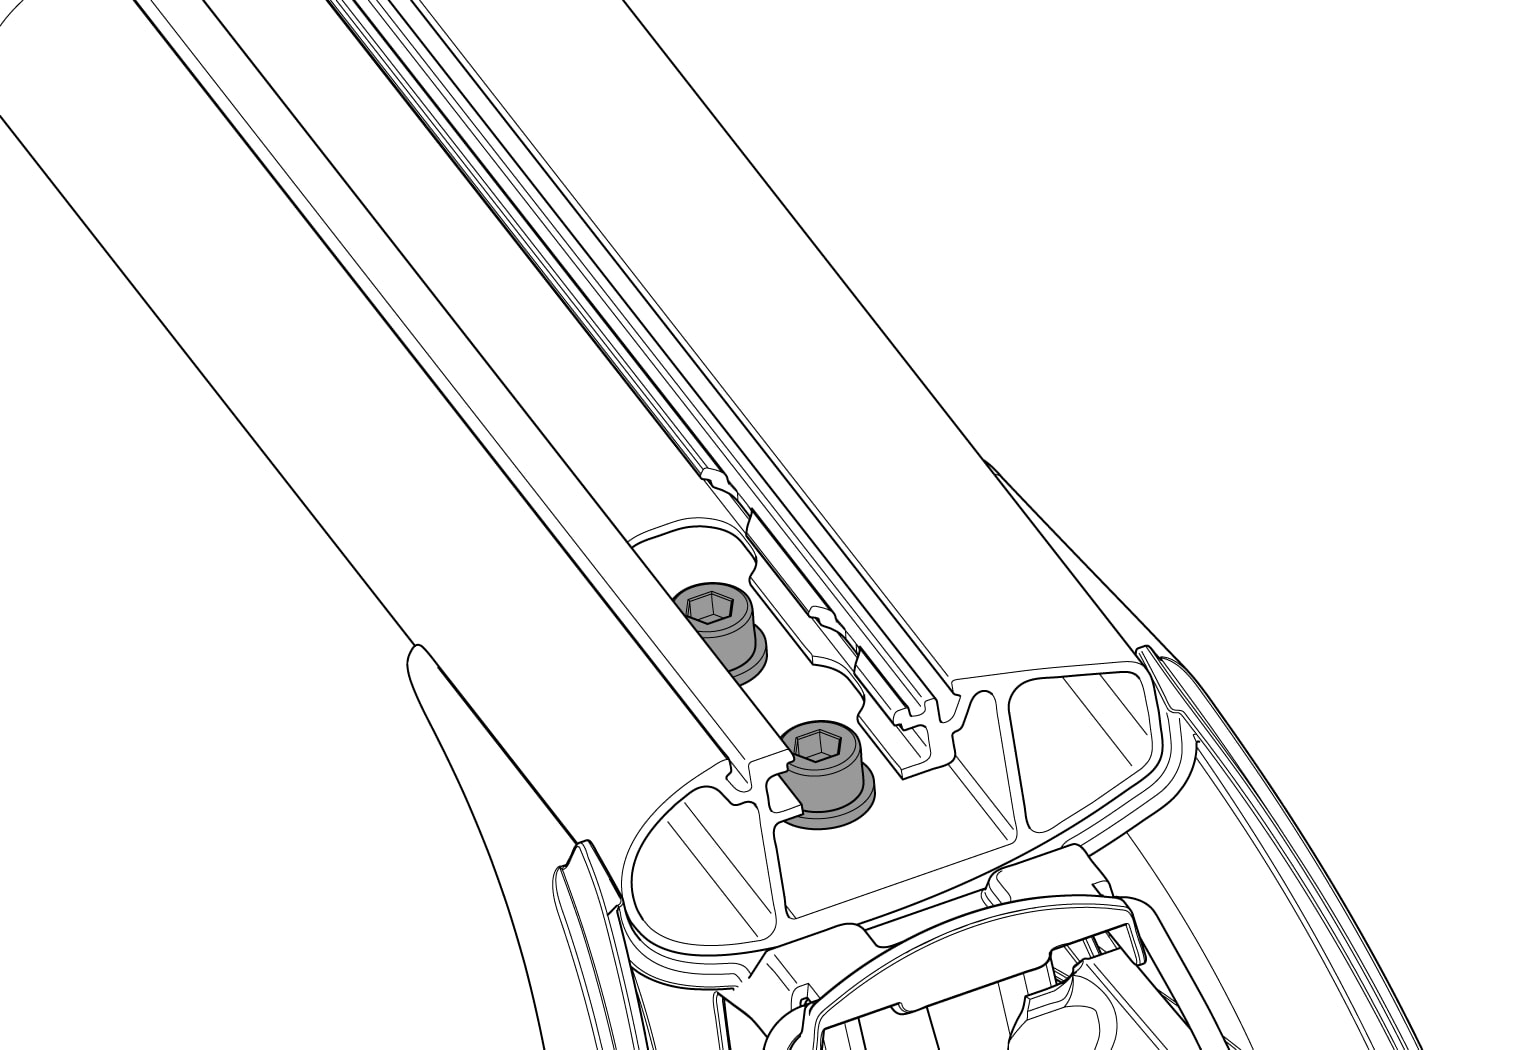
Move the mounting clip down toward the edge of the roof.
Note
from the roof edge. Loosen the screw if needed. so that the pins don't fall out of the rivet nuts.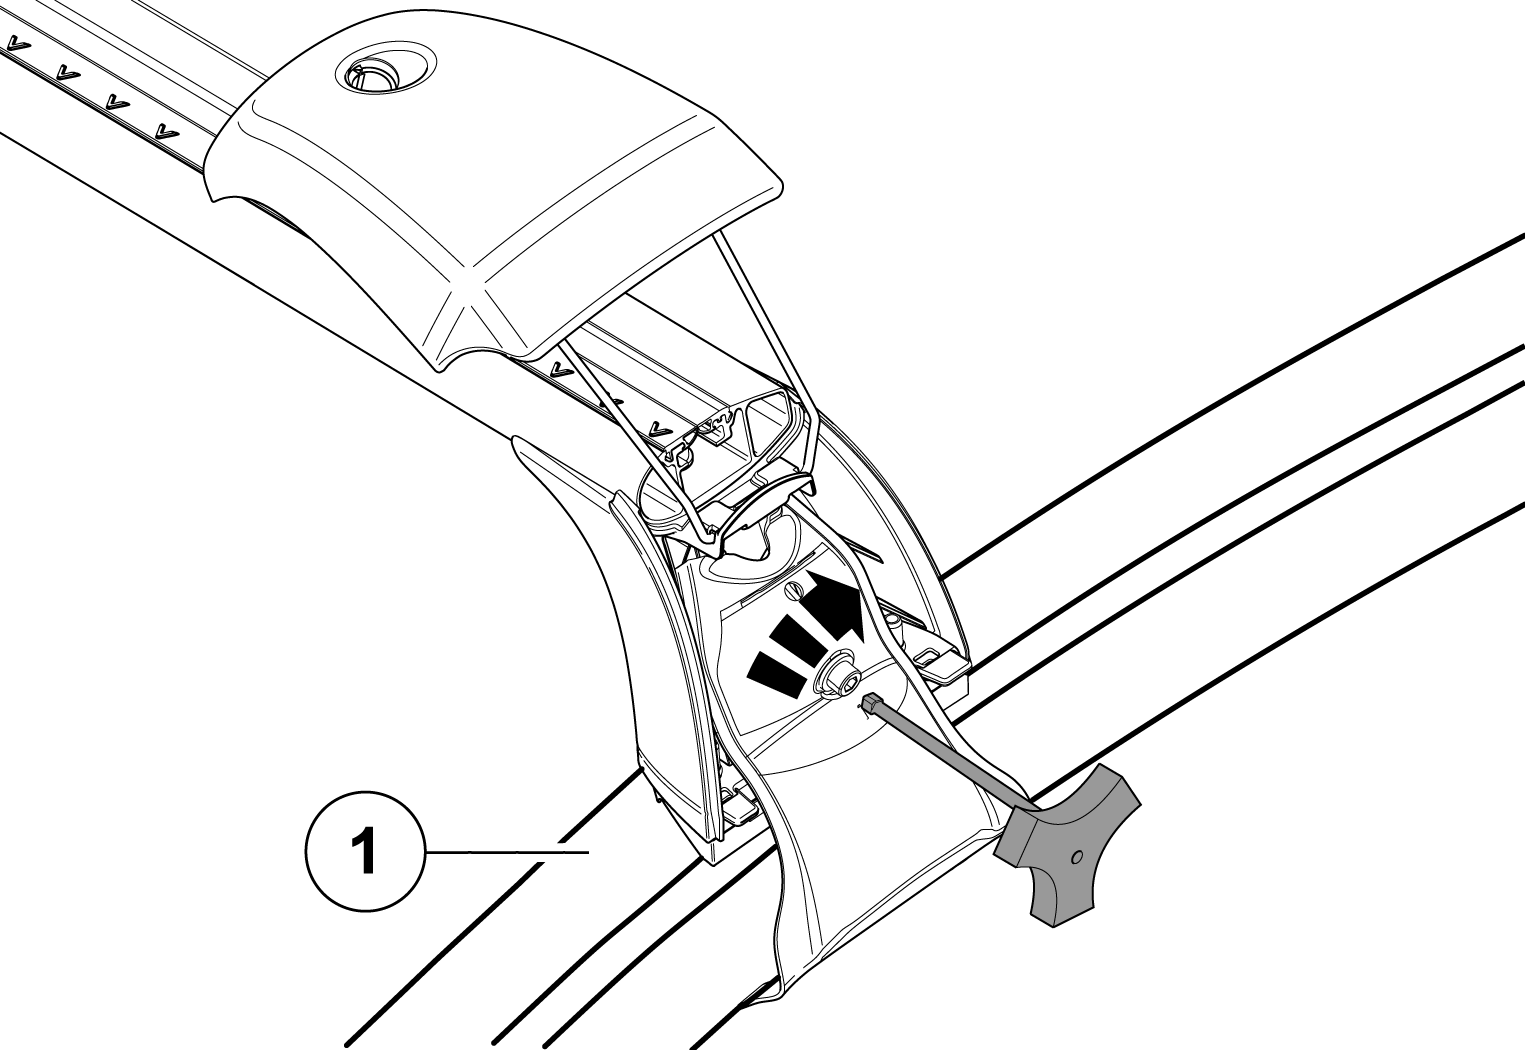
Make sure that the load carrier's foot sits tightly against the edge of the roof.
Put the covers back on the ends of the load carriers and turn the lock key 90° clockwise.
When using the T-track kit
Safety warnings
Note
- Never exceed the maximum roof load and total weight for the vehicle (see the vehicle's instruction manual). The maximum roof load is the total weight of the unladen load carriers plus accessories and cargo.
- Distribute the load evenly over the load surface, keeping the center of gravity as low as possible, and strap it down securely so that it cannot come loose.
- Check regularly to make sure the cargo is properly positioned and secured.
- Check the screw joints and attachments after driving for a short distance. If needed, tighten to the prescribed torque. Check regularly.
- The vehicle's driving characteristics and sensitivity to crosswinds change with a load on the roof. Adapt the speed to the vehicle's load (max. 80 mph (130 km/h)). Always follow applicable speed limits and other traffic laws.
- For the safety of other road users and to reduce energy consumption, remove the load carriers when they are not being used.